Unlocking Creativity: How to Make Mini MOD Builds with Everyday Pieces
A quick-start guide to bite-size, display-ready creations using the parts you already own.
Have you ever looked at your parts bin and thought, “What if I could build something awesome with just what’s already here?” That’s the spirit of this guide. Below, you’ll learn how to design mini MOD (My Own Design) builds—small, creative projects that push your imagination without requiring massive inventories.
Why Mini MOD Builds Are So Great
- Accessible: Start now with what you’ve got—no rare parts required.
- Manageable: Finish a mini build in a single session for instant satisfaction.
- Creative: Constraints spark clever solutions and “aha!” moments.
- Display-friendly: Perfect for desks, shelves, and photography.
Step-by-Step: From Idea to Mini Masterpiece
Step 1: Pick Your Theme or Concept
Choose a simple idea you love to guide colors, parts, and constraints:
- Retro convertible and roadside café
- Micro-space station or lunar rover
- Tiny treehouse or urban rooftop garden
- “Day in the life” vignette with one minifig
Step 2: Set Your Constraints
Constraints make the build fun. Try one or more:
- Use ≤ 50 pieces.
- Fix your footprint (e.g., 16×16 or 12×12 studs).
- Limit the palette to 3 colors plus neutrals.
- Include one “unexpected” part repurposed in a new way.
- Build in under 1 hour.
Step 3: Gather & Organize Parts
- Pull plates, slopes, and tiles as your core kit.
- Pick 1–2 “hero” parts to center the design around.
- Sort by color/type for quick scanning.
- Improvise substitutes—mini builds thrive on part re-use.
Step 4: Rough Layout & Key Modules
Sketch the main modules, then build them separately:
- Module A: Base & terrain/flooring
- Module B: Feature object (car, building, treehouse)
- Module C: Minifig or accessory scene
Step 5: Combine & Refine
- Stability: Remove weak hinges/overhangs.
- Visual flow: Guide the eye to a clear focal point.
- Play/display value: Pose minifigs; add small details.
Step 6: Photograph & Share
- Use a simple background (paper, gray board, or window light).
- Shoot at a dynamic 45° front-left angle.
- Add a close-up of one clever part re-use.
- List your constraints (“50 pieces, 3 colors”) to invite challenges.
Step 7: Reflect & Iterate
- What worked best—and why?
- What would you tweak next time?
- Could you push constraints further (fewer pieces, smaller base)?
- Can this mini scale into a mid-size build?
Quick Build Challenge — “Retro Drive & Café”
- Pieces: 60 or fewer
- Palette: Red, Black, Gray + neutrals
- Footprint: 16×16 studs
- Theme: Vintage convertible outside a small café with one minifig
- Special part: Use a 1×1 round tile as a hubcap or café light
Build order tip: Start with the car (Module B), add the café façade (Module A), then pose the minifig (Module C). Combine, photograph, and share!
Why This Fits TacoCat in Texas
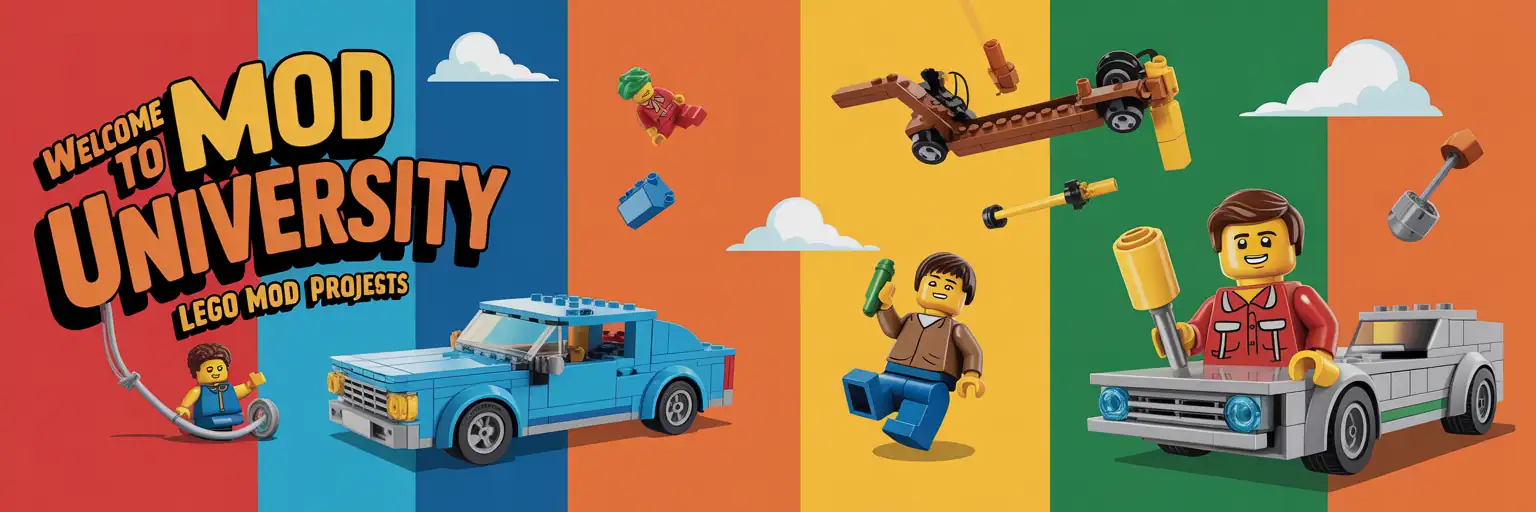
With a vibrant, fiesta-forward vibe (like the banner above), mini builds let your community grab quick wins, flex creativity, and share colorful results. They’re ideal for weekend builders, educators, parents-and-kids, and anyone wanting a satisfying creative break—no giant parts stash required.
