Level 1 — Snapshot Summary (Usage):
This gives you a quick museum-safe LEGO® silhouette overview of the selected rifle. Use it to confirm scale, length, and display intent before generating detailed plans.
Level 1 — Snapshot Summary
Level 2 — Builder Brief (Usage):
This describes the main structure, color plan, and museum-grade constraints for your LEGO® clone. Use this level to plan Technic spine layout, silhouette shaping, and external tiling.
Level 2 — Builder Brief
Level 3 — Detailed Museum Manual (Usage):
This level provides structural instructions for a non-firing LEGO® museum replica. Use this to guide Technic backbone reinforcement, plate lamination, internal ribs, and tiled finishing.
Level 3 — Detailed Museum Build Manual
Level 4 — BrickLink XML + BOM (Usage):
This generates an estimated BrickLink parts list for the LEGO® display model. Import it into BrickLink Studio or BrickLink’s uploader to source the correct colors and quantities.
Level 4 — BrickLink XML + BOM
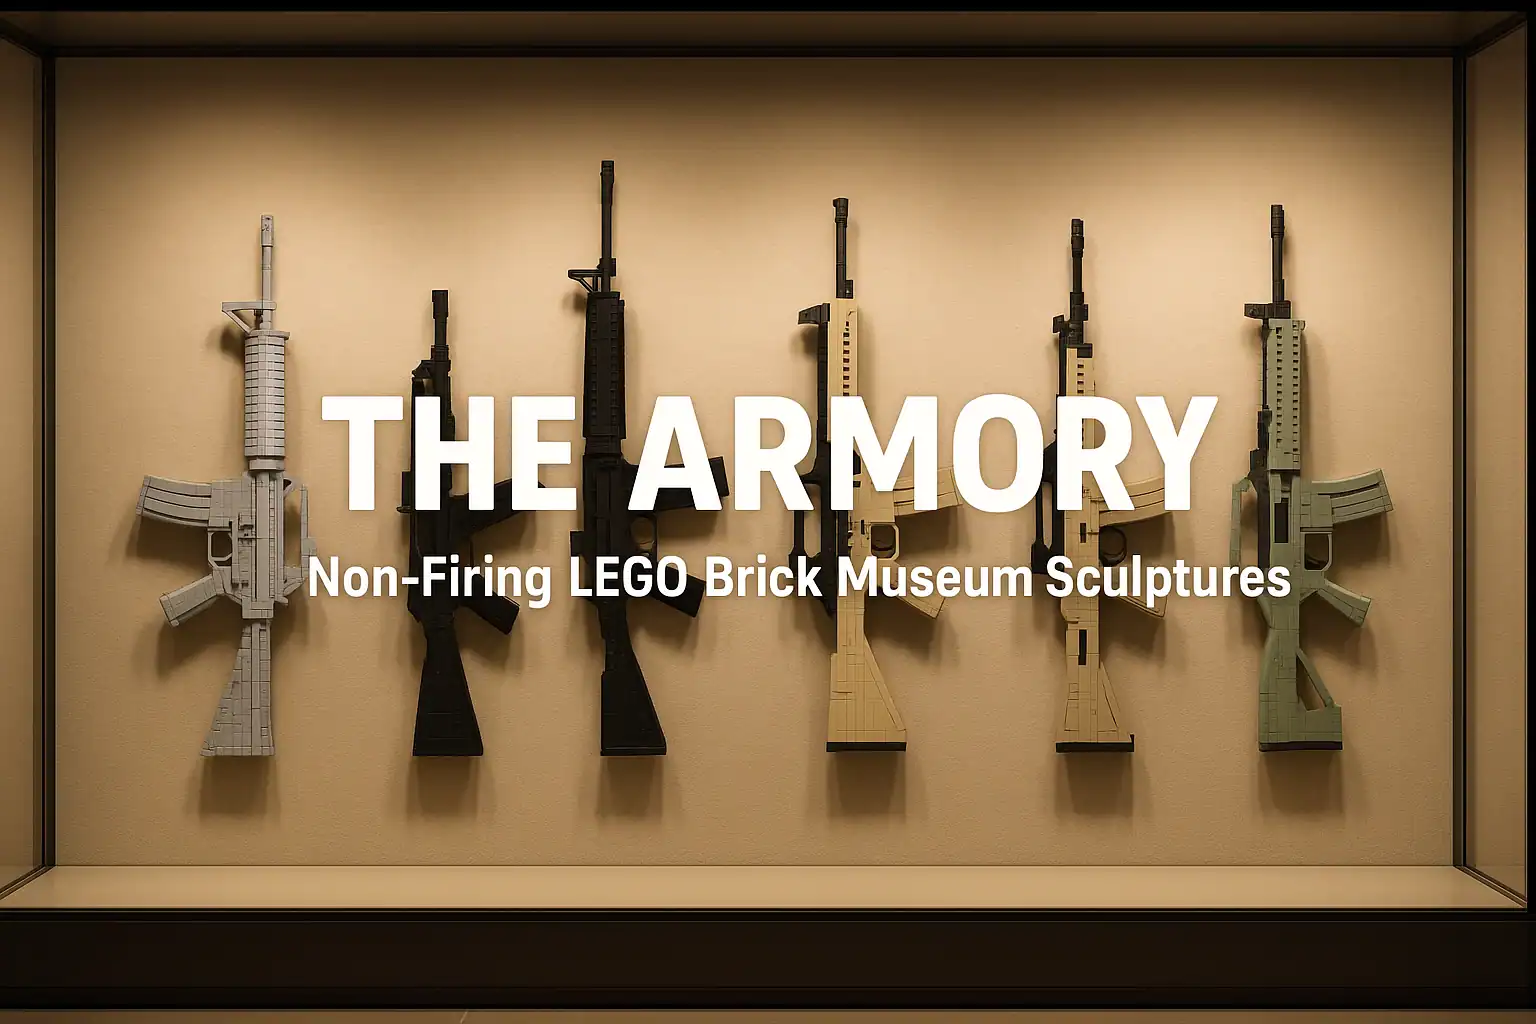
LEGO Museum Replica Building Tips
• Build mirrored halves and join at the Technic spine.
• Reinforce the stock early to prevent flex.
• Tile the exterior for museum-level finish.
• Use axles or 2×2 round bricks inside barrels.
• Photograph assembly stages for easier repairs.
• Reinforce differently depending on display mode.
• Museum replicas must NEVER include functioning parts.
⚠ NON-FIRING LEGO DISPLAY SCULPTURES ONLY — NO MECHANISMS OR FUNCTIONAL PARTS.