
Start Here: How to Build Vintage LEGO Vehicles
An in-depth guide for builders who want to recreate classic cars, trucks, and racers using authentic LEGO techniques and modern precision.
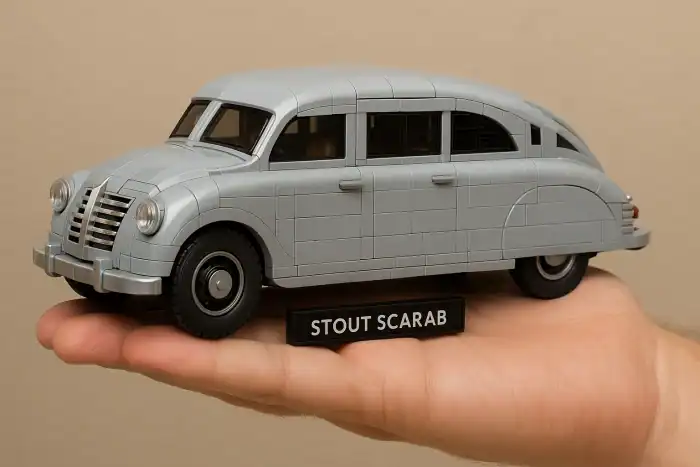
Vintage LEGO vehicles capture the spirit of automotive history — the curves of a 1950s roadster, the bold lines of 1970s muscle cars, and the charm of early micro-buses and estate wagons. Unlike generic modern builds, vintage LEGO vehicles reward attention to proportion, period-accurate details, and real-world engineering cues.
1. Choosing Your Vintage Vehicle Era
Before touching a single brick, define the time period you want to replicate. Each era has distinctive design signatures that will guide your part choices and shaping.
- 1920s–1930s – Exposed fenders, boxy frames, external spare wheels.
- 1940s–1950s – Chrome accents, oval grilles, streamlined curves, early sports cars.
- 1960s–1970s – Muscle car stance, racing stripes, aggressive rake and wide tires.
- 1980s–1990s – Squared profiles, early aerodynamic styling, sharp edges.
Great “starter” classics that translate well into LEGO include:
- Volkswagen Beetle or Microbus
- Jaguar E-Type or XK series
- 1969 Ford Mustang or similar pony car
- Porsche 356 and early 911s
- Classic Land Rover or Fiat city cars


Use search terms like “vintage car blueprints”, “classic auto side profile”, or the exact year/make/model of your chosen vehicle to collect reference images before you start building.


2. Planning Your LEGO Scale and Proportions
Consistent scale is the backbone of any realistic LEGO vehicle. Choosing your width and approximate length early prevents “stretchy” or squashed models later.
- 6-stud width – Compact builds; great for LEGO City layouts with limited space.
- 8-stud width – Ideal balance between detail and size; excellent for vintage realism.
- 10–12-stud width – Display-grade collector models with room for interior and engine detail.
Find the real-world length of your car and divide by the scale you want. For example:
Real car length: 4.2 meters
LEGO model at approximately 1:18 scale ≈ 23 cm long.
Sketch the side profile on graph paper or use a digital tool like BrickLink Studio to block out the wheelbase, hood length, cabin, and rear overhang before you start experimenting with bricks.
3. Structural Core: Building the Internal Chassis
A strong internal skeleton lets you handle and display your vintage LEGO vehicle without constant repairs. Think of it as the “ladder frame” or monocoque of your model.
Essential chassis elements include:
- Technic beams or plates as a central frame or spine.
- Cross-bracing to prevent twisting and flexing.
- Dedicated mounting points for axles, wheel arches, and body panels.
Pro tips:
- Use Technic pins internally where possible – they add strength without visible studs.
- Create a rigid spine running from front bumper to rear bumper.
- Reinforce wheel arches with stacked plates and brackets so arches don’t pop off during play.
4. Shaping the Bodywork
Vintage cars are all about flowing curves. Capturing those shapes in LEGO means layering slopes and using SNOT (Studs Not On Top) to change direction and smooth surfaces.
Key techniques for vintage bodywork:
- Use curved slopes and tiles for fenders, rooflines, and bumpers.
- Rotate sections with brackets and SNOT bricks to create rounded noses and tapered tails.
- Employ hinge plates to tilt panels gently, especially around wheel arches.
- Layer plates in half-stud offsets for subtle shaping changes.
Focus special attention on the front end: headlights, grille, and bumper define the “face” of a classic car. Compare your build to photos from the same angle and adjust until the silhouette feels right.
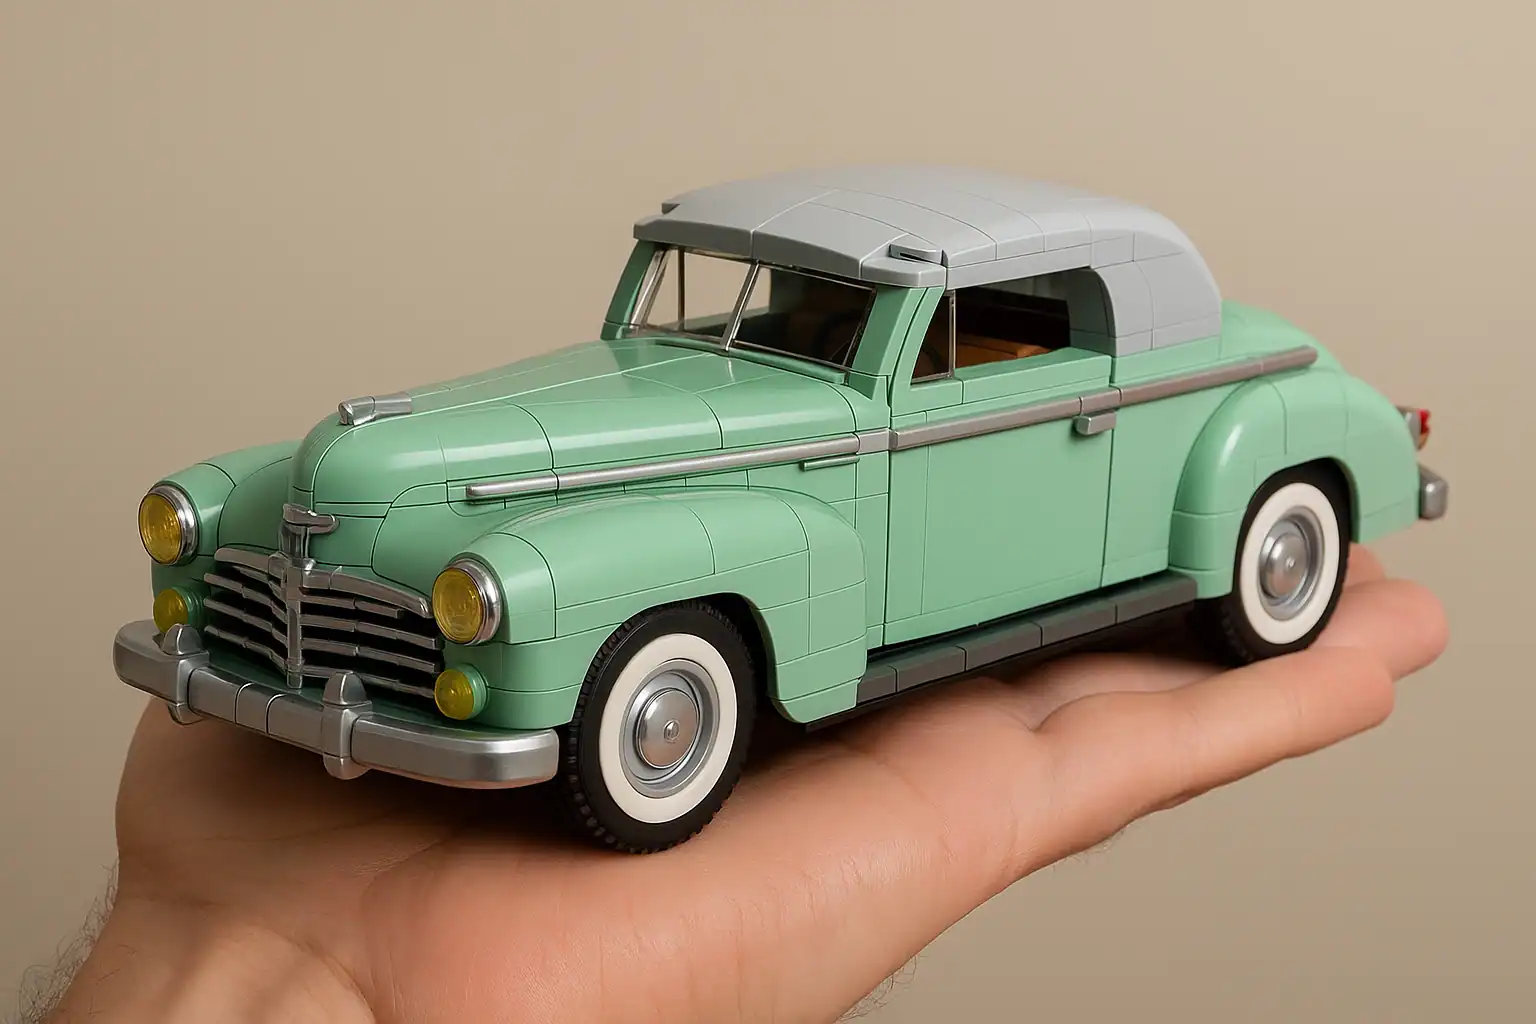
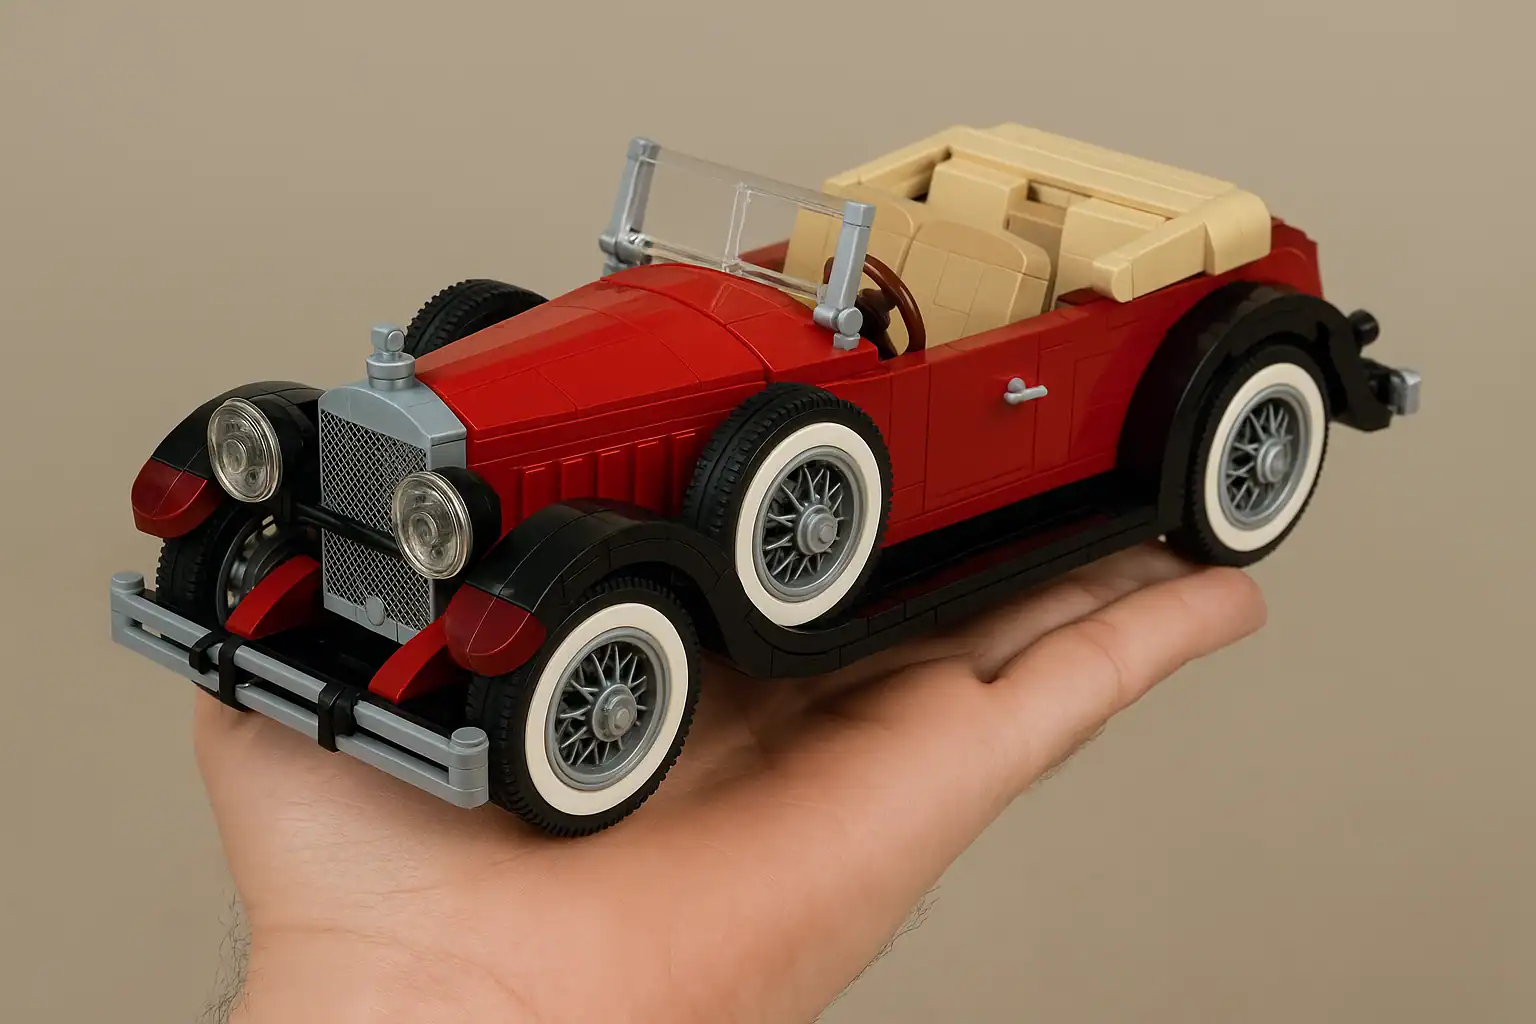
5. Authentic Vintage Details That Make It Real
Small period-correct details are what separate a basic LEGO car from a convincing vintage model. These finishing touches bring character and realism.
Exterior details to consider:
- Round headlamps using trans-clear or trans-yellow studs.
- Chrome-like areas with metallic silver or light bluish gray tiles.
- Whitewall tires simulated with printed wheels or color-blocked rims.
- Side mirrors on clip elements or bar holders.
- Brick-built or printed radiator grilles and hood ornaments.
Interior enhancements:
- Printed speedometer and gauge tiles on the dashboard.
- Simple gearstick and handbrake using bar elements.
- Two-tone seat designs in tan, dark tan, or reddish brown to suggest leather.
- Steering wheel position that matches the original car (left-hand or right-hand drive).
6. Selecting Correct LEGO Colors
Color sells the vintage vibe instantly. Many classic cars used rich, muted tones instead of ultra-bright modern colors.
Great LEGO color choices for vintage builds:
- Sand green – Beloved for classic sports cars and coupes.
- Dark red – Feels luxurious and suits 1940s–1950s tourers.
- Cream/tan – Perfect for woodies, estate wagons, and early micro-buses.
- Navy blue – Understated color common on grand tourers.
- Black with chrome trim – Timeless choice for limousines and high-end sedans.
You can even suggest weathering or patina by mixing slightly different shades in hidden areas, while keeping the main body color consistent on large visible panels.
7. Using Real LEGO Parts Only (Best Practice)
Sticking to official LEGO elements keeps your build legal, shareable, and easy for others to reproduce. It also ensures tight clutch power and long-term durability.
Best practices for part selection:
- Use BrickLink or similar marketplaces to source specific vintage-friendly parts and colors.
- Filter for currently available elements if you want others to recreate your design.
- Avoid bending or stressing parts beyond their intended connections.
- Test alternate legal connections if something feels too tight or flimsy.
8. Wheel Selection & Ride Stance
Wheels and stance define the personality of your vintage LEGO vehicle at a glance. Choosing the right diameter and tire width keeps proportions believable.
Key considerations:
- Low-slung racers should sit tight over the wheels with minimal wheel-arch gap.
- Off-road classics need more space above the tires to imply suspension travel.
- Align wheel arches so they center perfectly over the wheels in side profile.
- Use Technic pins and axles for smooth, robust rolling when playability matters.
9. Advanced Techniques for Expert Builders
Once you’re comfortable with basic shapes and structure, you can add mechanical and functional realism to your vintage LEGO vehicles.
Ideas to explore:
- Smooth, tile-heavy outer surfaces to mimic glossy paint.
- Brick-built chrome bumpers using curved slopes and metallic parts.
- Simple working steering linked to the front axle.
- Opening hoods, doors, and trunk lids with hinge plates and click hinges.
- Basic engine bays with suggestions of carburetors, manifolds, and radiators.
Test all moving parts repeatedly. Make sure nothing catches or stresses plates and that the car can still be picked up from any angle without sections popping off.


Tools & Resources for LEGO Vehicle Builders
A few free tools and communities can dramatically accelerate your learning curve and help you refine each new vintage vehicle build:
- BrickLink Studio – Design and test your model virtually before you order parts.
- Rebrickable – Browse existing MOCs for inspiration and part lists.
- Reference blueprint sites – Grab side, front, and top views of real cars.
- LEGO fan forums and groups – Share WIP photos and get feedback on proportions and color choices.
Final Thoughts: Your Journey Into Vintage LEGO Mastery
Building vintage LEGO vehicles blends mechanical precision, historical research, and artistic creativity. Every curve, color choice, and structural decision brings you closer to capturing automotive heritage in brick form.
Start with a car you love, pick a practical scale, build a solid chassis, then refine the bodywork until the silhouette feels right from every angle. Over time, your models will evolve from simple experiments into display-worthy centerpieces.
With patience and practice, your vintage LEGO vehicle collection can stand proudly among the finest custom creations in the LEGO community — and inspire other builders to dive into the world of classic cars on studs.