Import Your Build Pack into BrickLink Studio
Use this BrickLink Studio quick-start generator to turn your build pack into a practical Studio workflow, then scroll into the in-depth guide below for collision checks, connectivity tips, .io project setup, parts export planning, and instruction-making strategy.
BrickLink Studio Import Workflow Generator
This generator creates a tailored first-pass workflow for moving a LEGO build pack, LEGO vehicle spec, LEGO train draft, or custom model design into BrickLink Studio as a real .io project. It is designed for search intent around how to import LEGO build instructions into BrickLink Studio, how to start a Studio project from a design pack, and how to rebuild a LEGO model on the Studio canvas.
Custom Quick-Start Output
Choose your options and click Generate to build a tailored BrickLink Studio import workflow.
How to Import a Build Pack into BrickLink Studio and Turn It into a Real .io Workflow
This article is written to support high-intent search traffic for builders who want to know how to move from a LEGO build pack, LEGO design spec, or LEGO instruction draft into BrickLink Studio. It covers manual import reality, project setup, versioning, validation checks, parts export strategy, and next-step pages that help the visitor keep moving deeper into your site.
What “Import Your Build Pack into BrickLink Studio” Actually Means
One of the biggest misunderstandings around BrickLink Studio is the idea that a text-based build pack can be pasted directly into the program and converted into a finished LEGO model automatically. For most users, that is not how the workflow works. If your generator produces a draft design pack, build guide, module roadmap, or parts strategy, the real import process is manual rebuilding on the Studio canvas. That is why search phrases such as how to import LEGO instructions into BrickLink Studio, how to start a Studio file from a LEGO build pack, and how to turn a LEGO design spec into a BrickLink Studio project all point to the same practical answer: start a new Studio file and rebuild the model inside the software.
This is good news for serious builders, because rebuilding inside Studio gives you control. You can check geometry, spot weak areas, clean up proportions, organize modules, and save milestone versions as your model becomes more stable. Instead of treating the build pack like a magic upload file, treat it as a roadmap for creating a cleaner, more build-aware digital LEGO model.
Start with a Clean BrickLink Studio Project Folder
Before you open BrickLink Studio, create one project folder for the model you are working on. This matters for anyone searching best BrickLink Studio workflow for LEGO projects or how to organize a LEGO Studio build from a design pack. Put your source text, any estimated BOM, reference images, and milestone versions inside the same folder. A naming pattern like MODELNAME_studio_build keeps everything tidy and makes it much easier to manage future revisions.
Inside that folder, save your first Studio project immediately. A clean filename such as MODELNAME_v0.1.io tells you this is your first practical pass. If you later rebuild the chassis, refine bodywork, or update the internal structure, you can save new files like MODELNAME_v0.2.io or MODELNAME_v0.3.io. This simple versioning approach supports search intent around how to save BrickLink Studio versions and best way to manage LEGO Studio revisions.
How to Rebuild a LEGO Build Pack on the Studio Canvas
If your source is a text-only build pack, the safest method is to rebuild in logical layers. Start with the base structure first. On a vehicle, that usually means the chassis, wheelbase, axles, and floor. On a train, it may mean the frame, bogies, deck, and sidewalls. On a diorama, it often means the terrain footprint, main support plate, and major structural landmarks. This approach fits long-tail searches like how to rebuild a LEGO vehicle in BrickLink Studio, how to make a LEGO train model in Studio from notes, and how to recreate a custom LEGO concept in BrickLink Studio.
The first pass does not need to be pretty. The goal is to create a connected digital body that represents the core shape of the model. Once the model exists as a real .io file, you can improve alignment, swap elements, refine color choices, and strengthen assemblies. Builders who skip this rough pass often lose time trying to perfect surfaces before the structure is stable.
Use a Temporary Reference Layer for Faster Alignment
A useful trick when starting a new Studio project is to place a temporary floor or reference layer under the model. That can be a plate field, a broad base, or even a simple alignment strip. This gives the model a clear working datum and helps keep the build square while you block in the major sections. For people searching how to align LEGO models in BrickLink Studio or BrickLink Studio beginner setup for custom builds, this one habit can reduce errors early in the workflow.
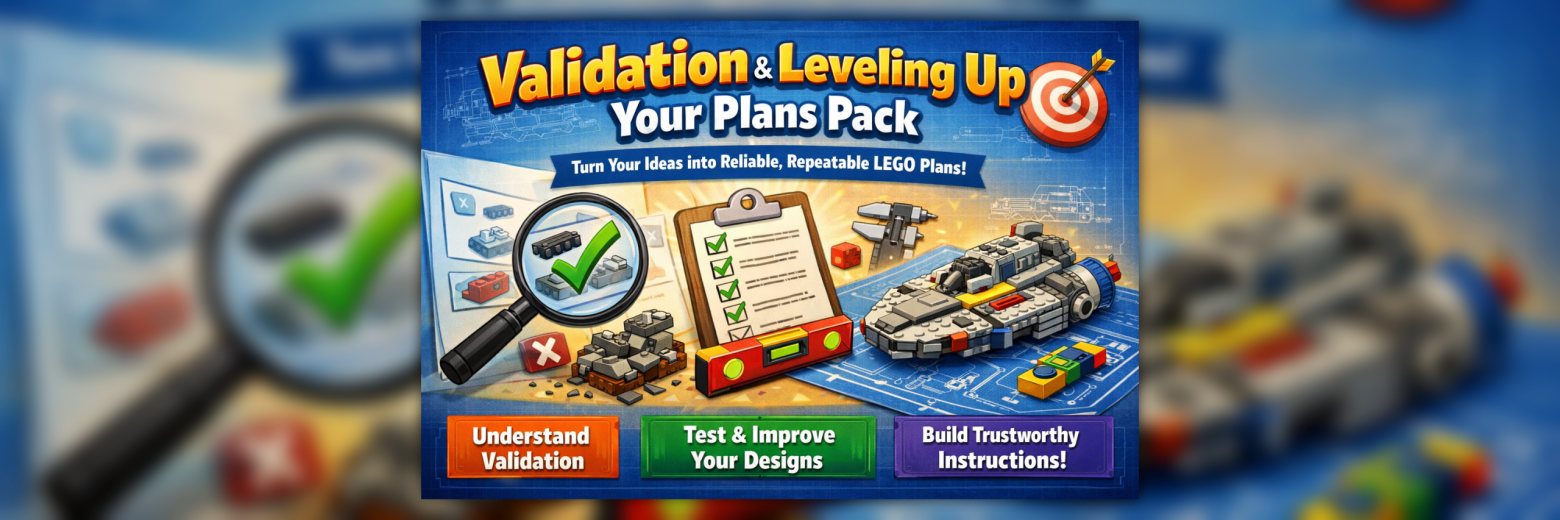
When to Run Collision, Connectivity, and Stability Checks
Once your model has a meaningful structure, move into validation. Collision checking helps you find parts that are physically intersecting. Connectivity checking helps you find pieces that are not properly connected. Stability review helps you identify weak spots, floating details, or assemblies that may look fine but behave badly in practice. These topics line up with search phrases like BrickLink Studio collision check tutorial, how to use BrickLink Studio connectivity check, and how to make a LEGO model more stable in Studio.
You do not need to wait until the model is perfect. A mid-build validation pass is often smarter, because it catches structural mistakes while they are still easy to fix. For example, if a chassis is offset, if an axle housing is under stress, or if a body panel is only visually attached, you can correct the issue before the whole build grows around it.
How Parts Export Fits into the Workflow
Builders often search for how to export a BrickLink Wanted List from Studio or how to make a LEGO parts list from a Studio model. The key thing to remember is that parts export comes after the digital model has enough truth in it to be useful. If you export too early, your parts list becomes noisy, unstable, and likely to change. A better sequence is: rebuild the core model, save milestone versions, run validation, tighten weak assemblies, and then export a parts list when the file is stable enough to represent the real build direction.
That is why this page positions BrickLink Studio not as a simple importer but as the place where your draft design becomes a disciplined digital model. Once the model is clean enough, you can use BrickLink Studio for parts planning, instruction making, visual review, and further refinement.
Best BrickLink Studio Workflow for Generator Users
If your site visitor came from a generator page, they are likely holding a draft build spec, prompt-driven design output, or a structured design roadmap. The best guidance is not to oversell certainty. A generator can produce a highly useful roadmap, but BrickLink Studio is where that roadmap becomes testable. This helps you rank for intent-driven phrases such as what to do after a LEGO generator gives a build pack, how to turn AI LEGO instructions into a Studio file, and next step after generating a LEGO model design.
- Open a fresh project and save the first .io file immediately.
- Block in the core structure before chasing cosmetic surfaces.
- Use version numbers so you can roll back without fear.
- Run validation before treating the parts list as trustworthy.
- Only move into instruction making after the file is stable enough to teach from.
Who This Page Helps Most
This page is built for visitors who are already motivated. They are not casually browsing. They are searching for concrete answers such as how to import build pack into BrickLink Studio, how to start a BrickLink Studio project from LEGO instructions, how to create a .io file from a LEGO model concept, and how to move from design draft to Studio validation. That is why the guide stays practical, uses real workflow language, and connects the reader to the most relevant internal pages next.
What to Do Next
Once your visitor understands how to move a build pack into BrickLink Studio, the next step is to keep them inside your site with highly relevant support pages. These links are chosen to match the same workflow: generate a build concept, learn how to read the output, refine it, and move deeper into related LEGO content.
Frequently Asked Questions
No. In most cases, you use the build pack as a guide and manually rebuild the model on the Studio canvas.
You can, but the parts list is much more useful after the model has gone through a first structure pass and basic validation.
Save a simple versioned project such as MODELNAME_v0.1.io the moment you open your new project.